Five Things You Probably Didn’t Know About Printing
I’ve written before about how I worked in the print finishing industry after I graduated from art school. It was an eye-opening experience that I still lean on when working on my creative projects (or helping other artists with theirs!)
Sometimes, printing feels intimidating. We have the art and the ideas, but we don’t know how to execute it!
Well, I’ve got you covered with some advice in this list of five things you probably didn’t know about the printing industry.
Why bleed matters
You’ve probably seen the prompts on art software, like Adobe InDesign or Photoshop, to include bleed in your canvas size. But what does that mean?
In a print file, bleed refers to the extra margin of the design that extends beyond the final trim size. This ensures that the artwork reaches the edges of the finished piece without leaving unprinted white edges due to slight trimming variations. Typically, bleed is set to 1/8 inch (3mm) around the perimeter of the file.
In fact, it’s not only trimming variations that result in a need for bleed but print bounce as well. A bounce occurs in digital printing, where you don’t have a perfect register from page to page. This means the work will be printed on the paper plus or minus about 1/16th an inch in location from sheet to sheet.
This is why you should always include bleed if your image extends right to the edges of your paper! Visible white paper due to forgetting bleed looks amateur.
Black paper is extremely expensive
While I don’t know precisely the processing requirements that cause black paper to cost double or triple the price of other coloured paper, it is a fact that it does. Plus, if you print on black paper, you will require white ink, which is not a standard colour for CMYK inks. That means you can’t print digitally (usually) and must choose lithographic, silkscreen, risograph, etc.
But there’s a surprisingly easy workaround - print flood black on white paper. That way, any white is the paper (i.e. non-printed area), so you don’t need white ink.
The only downside to printing full black on white paper is the edges of the paper will still be white. For example, take a look at this beautiful full-black book. The white edges stand out, right?

This book was created by illustrator Jez Burrows
The next step is something called edge painting. This is where you clamp books super tight and paint the edges of the pages. You can paint them back, but you might have seen coloured or gold foiled edge paintings! Believe it or not, printing flood black and edge-painting the books was a cheaper option for the production of the above art book than using black paper!
Each type of bookbinding has a name
Maybe this is obvious - but each type of bookbinding you see on shelves has an industry name that is important to know. That way, you can ask for exactly what you want! Here’s the rundown:
Perfect Bound: Softcover books where the spine is glued into the cover.
Casebound: Hardcover books that consist of sewn signatures of pages that are then glued to the “case” (cover).
Wire-O: Loose pages gathered together and punched with rectangular holes down the spine, then bound with wire “coils.” These wire coils usually come in silver and black, but you can also get copper!
Plastikoil: Loose pages gather together and are punched with circular holes down the spine, then bound with a plastic spiral. These plastic spirals often come in a variety of colours!

Wire-o vs Plastikoil
Smyth Sewn: Also known as section sewing, folded sections (signatures) of pages are machine sewn together along the spine with thread.
Coptic Bind: A hand-sewing technique where signatures are sewn into two boards (covers), but the spine is left open so you can see the pattern of the thread.

An example of coptic binding with a simple sewing pattern
Japanese Stab Binding: A hand-sewing technique for hard- or soft-cover books. Loose pages and covers are gathered and punched with an awl, then sewn in an array of beautiful thread patterns.
Stitched Booklet: A signature is stapled along the spine (like a thin magazine or monthly comic). Staples are usually silver, but black and copper are sometimes available.
Pamphlet Sewn Booklet: A signature that is sewn along the spine, typically by hand.
Want to learn more about bookbinding? I teach classes in Vancouver about pamphlet sewing, casebound books, coptic binds, and Japanese stab bindings! Check out my upcoming workshops here.
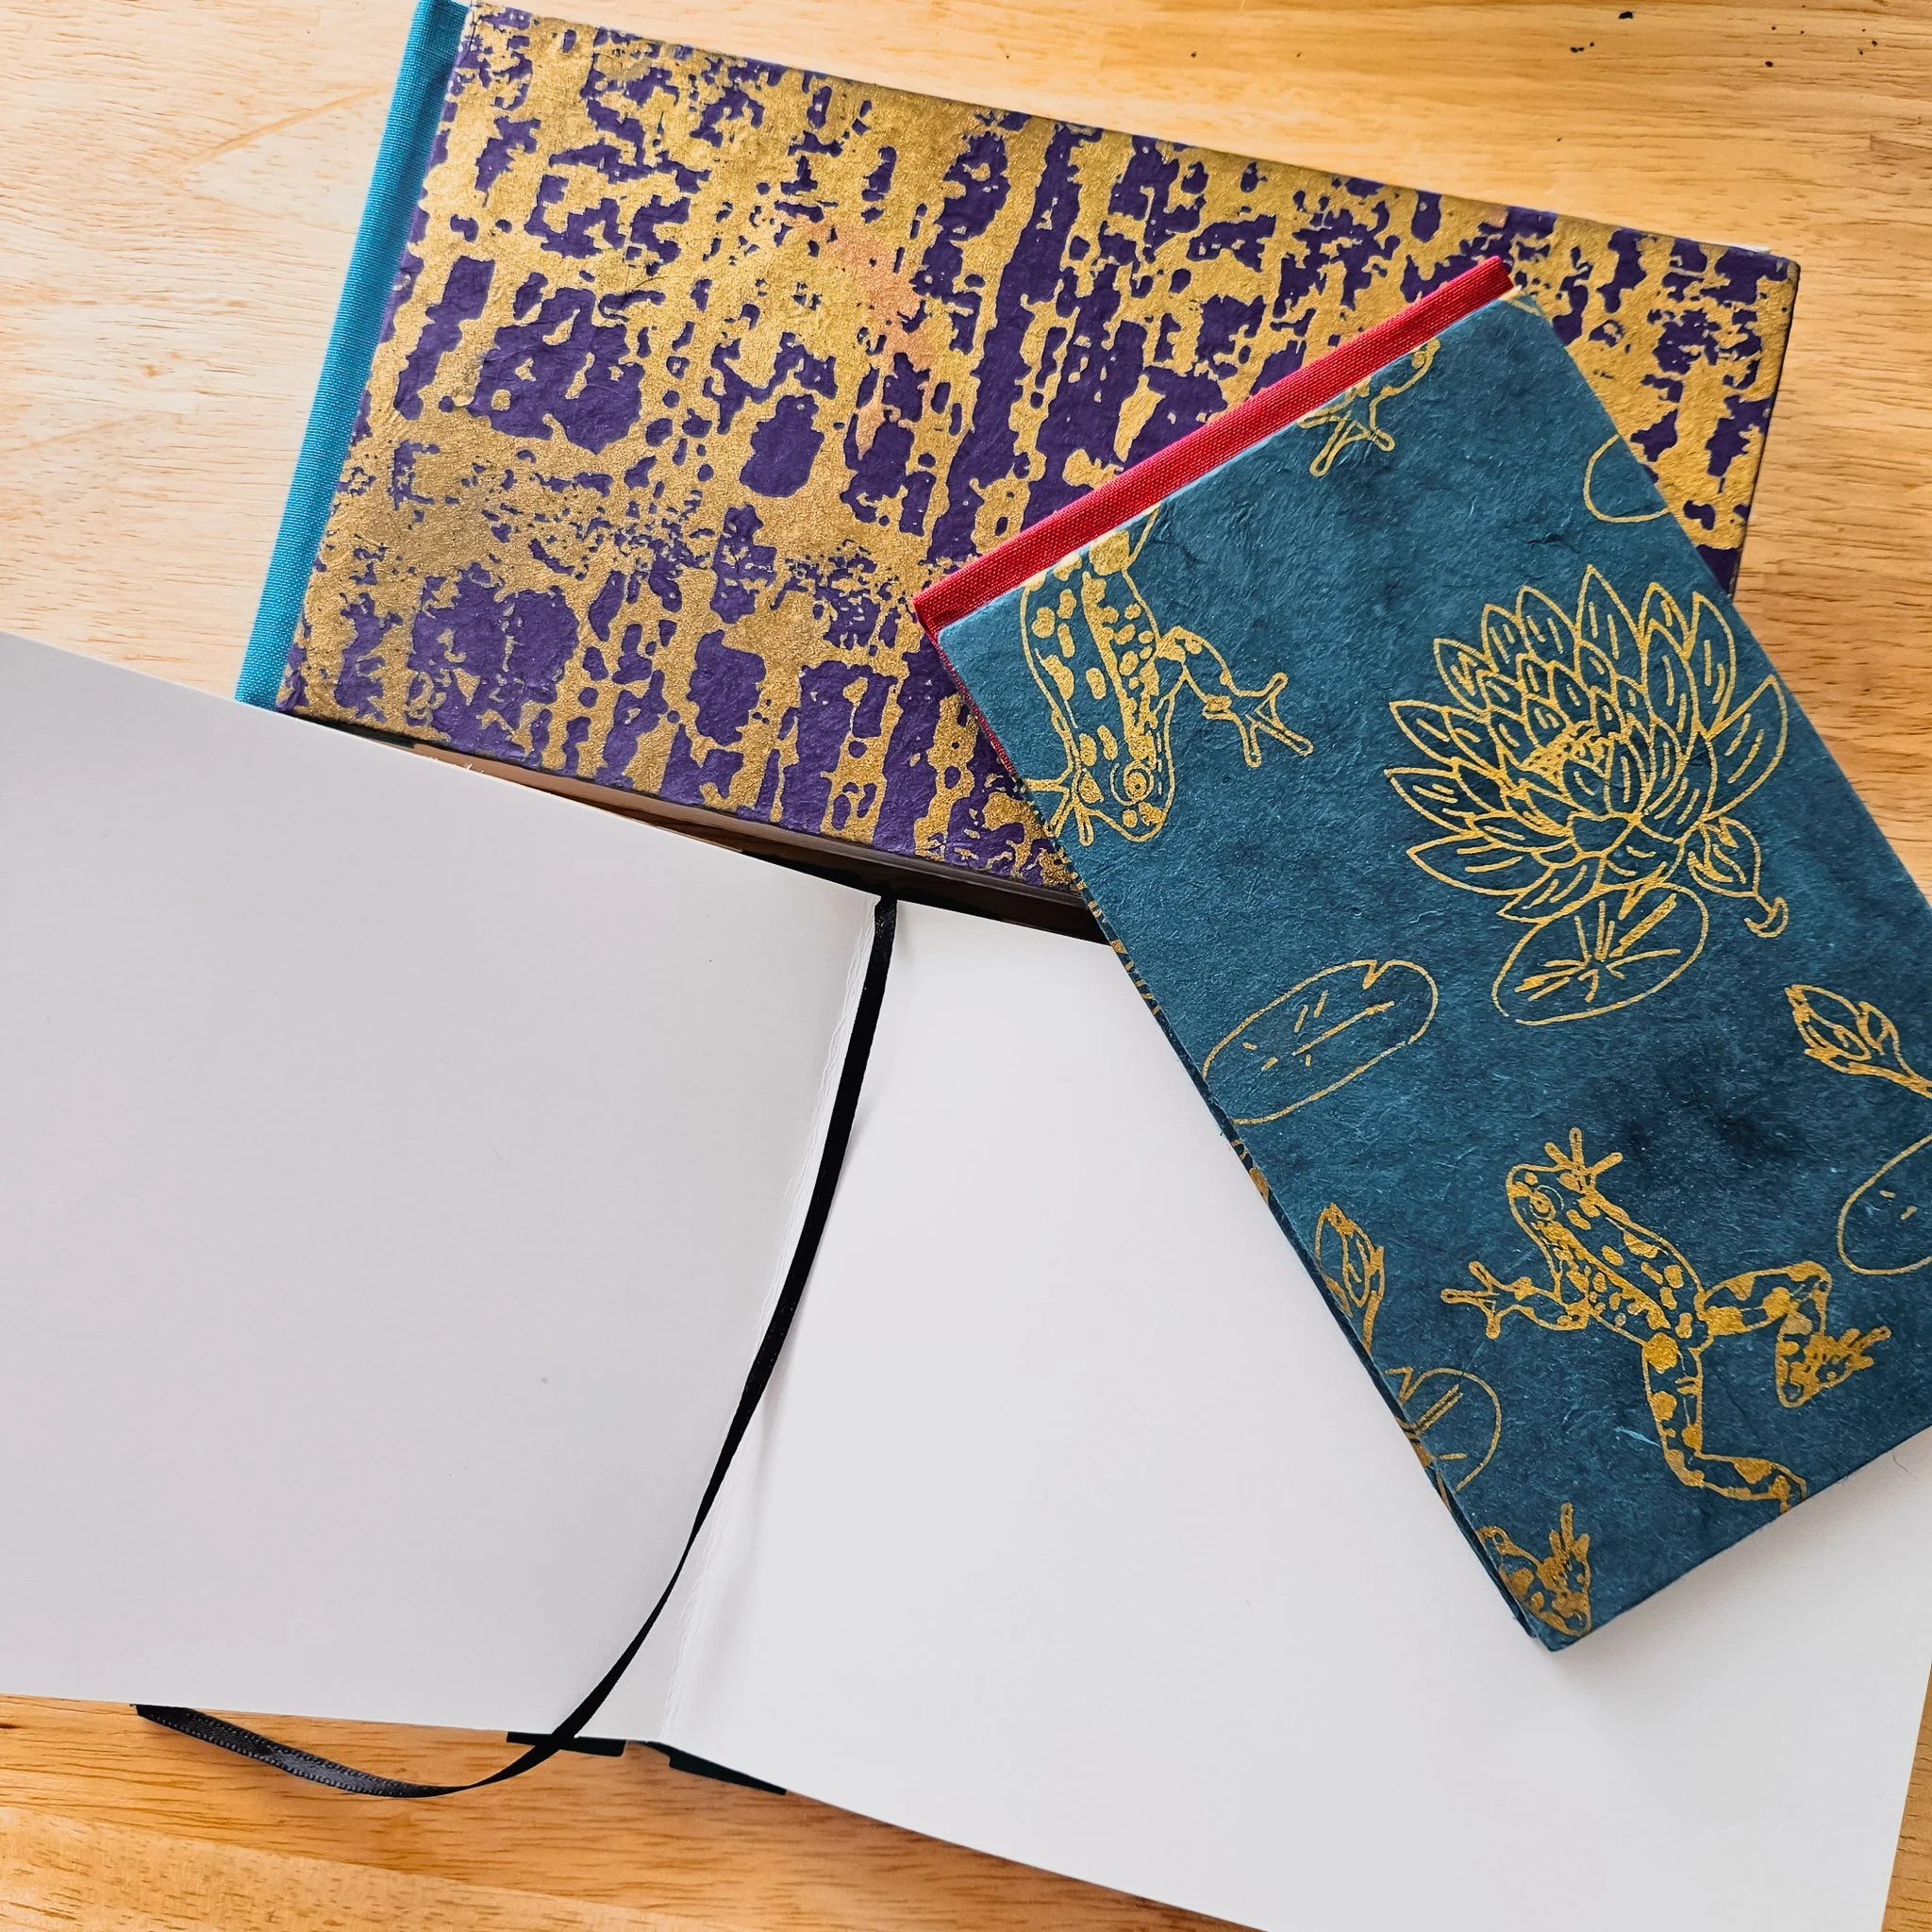
Paper type affects the final appearance and feel
Paper comes in two basic finishes: Coated and Uncoated.
Coated paper might have additional options, such as satin or gloss finish.
But what does that all mean?
Think of uncoated paper as raw paper. It is matte and has the texture of whatever it’s made of. This includes standard printer paper, cardstock, rice paper, and even homemade paper.
Coated paper is treated to change the final appearance and feel of the sheets. The goal is usually to make the paper smoother and shiny. In all aspects of the print industry, the following terms are standard:
Matte: No shine (or as minimal shine as possible)
Satin: A bit of shine
Gloss: High-shine
You can also apply plastic lamination to paper to change the finish. Plastic laminate is useful (but expensive!) because it also protects print from cracking or smudging. Laminate comes in matte, satin and gloss, but you’ll also hear soft touch a lot. This has a satin appearance but feels buttery soft to the touch. A great choice for business cards!
Paper has a grain direction
Just like wood, paper has grain. Grain is the direction in which the longest paper fibres travel.
Why does that matter?
Paper folds best along the grain. It also binds best along the grain when using glue. So if your interior page signatures are wrong grain (folded against the grain), your book becomes warped when it’s glued.
Printers know this and they should always do things right grain. But sometimes, it’s cheaper to print wrong grain (due to layout on large papers). Don’t fall for it! It’s never worth the saving to have a warped book.
Grain direction should be the second number listed in the dimensions of the paper. So 8.5 x 11” paper has the grain going along the 11” direction (long grain). Yes, that is why when you fold printer paper in half to 5.5 x 8.5”, it doesn’t fold as nicely as when you fold it to 4.25 x 11”.
If you want short-grain letter-size paper, you only need to buy tabloid paper and cut it in half! Tabloid is 11 x 17” so the grain is along the 17” dimension (long grain). Cut in half, it becomes 11 x 8.5”, and the grain is now along the 8.5” dimension (short grain).
Voila!
You can tell this homemade book is folded wrong-grain because of the cracking along the fold (spine). Not a big deal for homemade but it becomes an issue for commercial print jobs!
- March 2025
- February 2025
-
January 2025
- Jan 28, 2025 Illustration for Beginners: Working with Basic Shapes
- Jan 27, 2025 How to Get Started in Illustration: Ten Steps for Beginners
- Jan 17, 2025 Five Reasons I Love the Character Design in Dragon Age: the Veilguard
- Jan 16, 2025 Defining Your Art Style: Five Questions to Ask Yourself
- Jan 15, 2025 Building Confidence in Figure Drawing: 5 Mindset Shifts to Overcome Fear
- Jan 14, 2025 Life Drawing vs. Photo Reference: Pros, Cons, and Best Practices
- Jan 13, 2025 Procreate vs Photoshop: 5 Pros and Cons of Each Software
- Jan 10, 2025 Mind Mapping for Artists: Turning Abstract Ideas into Tangible Concepts
- Jan 9, 2025 Observation as Inspiration: Cultivating Mindfulness to See the World Differently
- Jan 8, 2025 Overcoming Fear of Failure: Five Tips for Developing a Growth Mindset in Your Art Practice
- Jan 7, 2025 Embracing Constraints: How Limits Can Boost Your Creativity
- Jan 2, 2025 What Can You Do With an Illustration Degree? 5 Career Options
- Jan 1, 2025 Five Things You Probably Didn’t Know About Printing
- December 2024
-
November 2024
- Nov 15, 2024 Character Concepts - Brainstorming Activity
- Nov 14, 2024 Designing Characters - Three Examples from the Pros
- Nov 13, 2024 Five Tips for Successful Comic Scripts
- Nov 12, 2024 Five Steps to a Masterful Outline for Your Comic
- Nov 11, 2024 How to Get Started Making Comics: Step Breakdown
- Nov 8, 2024 Three Reasons You Should Build a Creative Community
- Nov 7, 2024 Five Essential Skills for Making a Graphic Novel
- Nov 6, 2024 Five Steps to a Digital Character Illustration on Procreate
- Nov 5, 2024 Digital vs Traditional Illustration - 4 Myths Busted
- Nov 4, 2024 Three Gesture Drawing Methods You Probably Haven’t Tried Before
- Nov 1, 2024 The Seven Key Elements of Art Making
-
October 2024
- Oct 31, 2024 Three Unexpectedly Great Illustration Resources
- Oct 30, 2024 Ten Essential Skills Every Illustrator Should Practice
- Oct 29, 2024 Top Five Procreate Tips to Enhance Your Digital Illustration
- Oct 28, 2024 Seven Things I Learned About Illustration and Art Working in the Print Industry
- Oct 25, 2024 Five Viz Media Graphic Novels That Transcend the Genre
- Oct 24, 2024 Top Five Drawn and Quarterly Comics To Blow Your Mind
- Oct 23, 2024 Top Five First Second Comics to Get Cozy With
- Oct 22, 2024 Top 5 Image Comics You Need to Read Right Now
- Oct 21, 2024 Art News 002: Foodways at the Richmond Art Gallery
- Oct 18, 2024 Six Tips for Photographing Work for Your Art School Portfolio
- Oct 17, 2024 5 Ways to Make Your Art School Portfolio More Conceptual
- Oct 16, 2024 5 Unofficial Rules of Receiving a USEFUL Art School Portfolio Review
- Oct 15, 2024 Ten Things to Avoid in Your Art School Portfolio
- Oct 14, 2024 5 Things Your Art School Portfolio Should Say About You
- Oct 11, 2024 7 Tools for Drawing Perspective Without a Ruler
- Oct 10, 2024 5 Tips to Start a Daily Drawing Practice
- Oct 9, 2024 Ten Japanese Illustrators You Should Know
- Oct 8, 2024 Meet the Art Coach!
- Oct 7, 2024 Ten Tips to Get Started with Gesture Drawing
- Oct 4, 2024 Nouns + Adjectives - a Silly Illustration Game to Spark Inspiration
- Oct 3, 2024 Five Ways to Boost Your Creativity
- Oct 2, 2024 How I Make Comic Panels in Procreate
- Oct 1, 2024 OC-tober 2024, a Month of Art Prompts
-
September 2024
- Sep 25, 2024 Three Comic Book Art Styles You Might Not Know
- Sep 24, 2024 Five Questions to Ask an Art Coach
- Sep 23, 2024 Let’s Make Characters!
- Sep 20, 2024 Art News - 001
- Sep 19, 2024 Top Five Manga if You Don’t Read Manga
- Sep 18, 2024 How to Think About Character Design
- Sep 17, 2024 Book Printing Basics
- Sep 16, 2024 Top Five Reasons You Might Need an Art Coach in 2024
- Sep 11, 2024 Top Five Things Artists Can Learn From Their Peers
- Sep 10, 2024 Top Ten Figure Drawing Tips for Illustrators
- Sep 9, 2024 Top Five Art Books You Should Own